
How to Get a Student Visa to Russia: Requirements & Steps
September 28, 2026
Getting a student visa Russia applications depend on can feel confusing if you have never dealt with a Russian embassy before. Between invitation letters, medical certificates, and appointment slots that fill up fast, one missing document can push your start date back by weeks. If you are applying from the UAE, India, or anywhere else and want to begin classes on time, you need a clear picture of what the embassy actually asks for.
This guide answers that directly. You will find the exact visa requirements, the paperwork you need to gather, and the order in which to submit everything, so there are no surprises at your appointment.
We will walk through how the student visa to russia process actually works from the moment your university accepts you: securing your official invitation letter, booking your embassy slot, preparing your documents, and what happens once you land. At RUSBASE, we handle invitation letters and embassy paperwork for students heading to our 24 partner universities every intake, so this is the same sequence we use with our own applicants, not generic advice pulled from a government website.
What you need before applying for a Russian student visa
Before you book any embassy appointment, you need three things locked in: a confirmed seat at a Russian university, a passport with enough validity, and a clear budget for fees. Skipping this prep stage is the number one reason applications stall, because the embassy will not process a visa application without an official invitation letter from your host university, and that letter cannot exist until admission is confirmed.
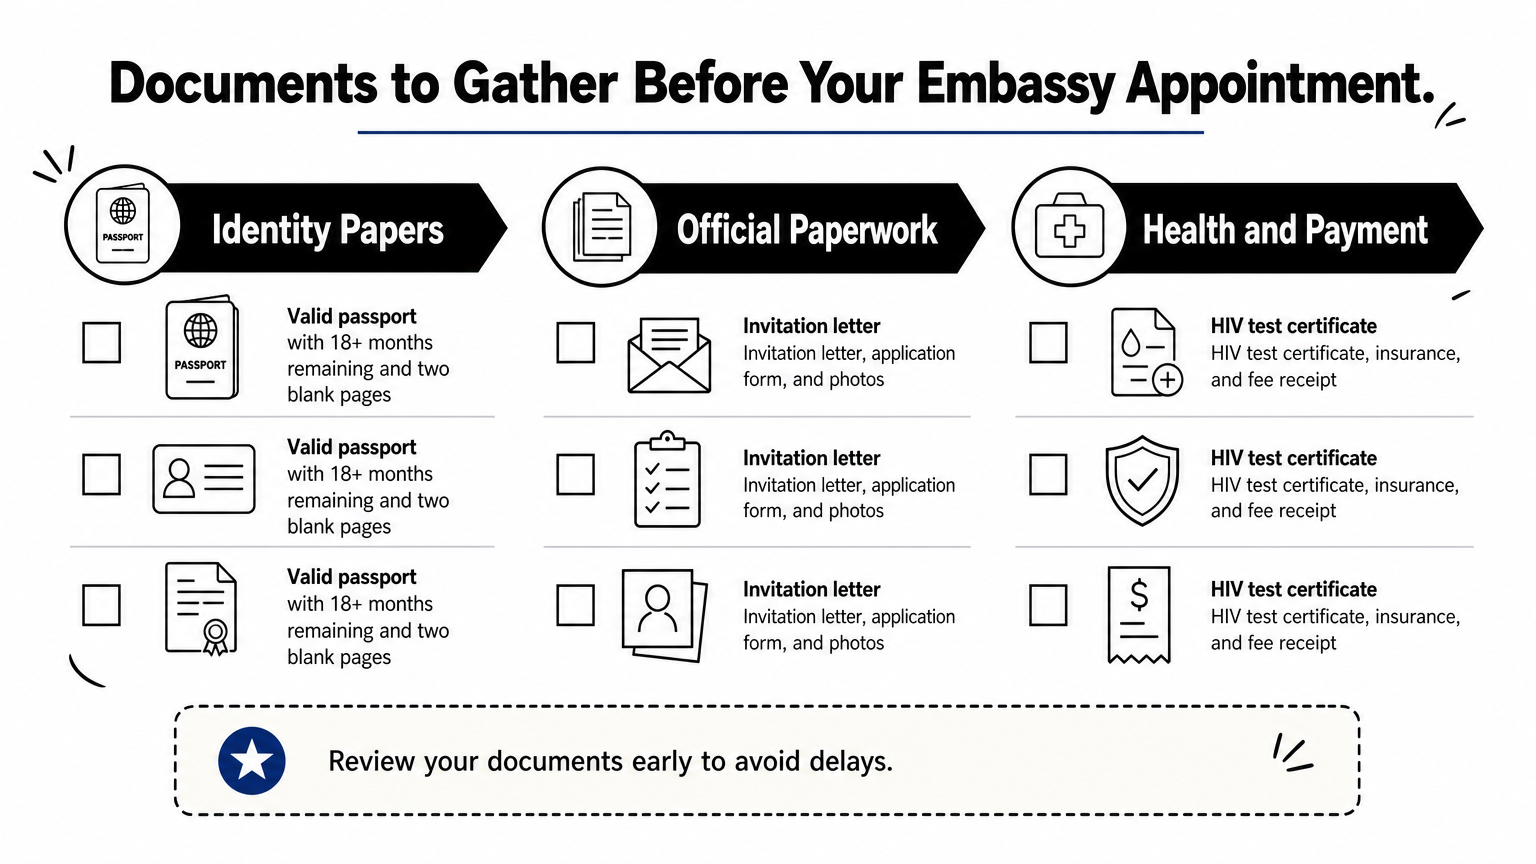
Most embassies also expect your passport to remain valid for at least 18 months beyond your intended entry date, since Russian study visas are often issued for the full academic year and renewed afterward. Passports nearing expiry get rejected outright, so check this first, before you spend time on anything else.
Specific student visa russia requirements vary slightly by consulate, but the core checklist stays consistent across UAE, Indian, and most other application centers:
- Valid passport (18+ months remaining, at least two blank pages)
- Official invitation letter from a Russian university or the Ministry of Foreign Affairs
- Completed visa application form
- Passport-sized photographs (usually 2, matching Russian consulate specifications)
- HIV test certificate (details in Step 2)
- Proof of visa fee payment
- Travel medical insurance valid in Russia
No invitation letter means no visa application, full stop.
Gathering these pieces in parallel saves you weeks. While you wait for your invitation letter, you can already schedule your HIV test, buy your insurance policy, and fill out the application form, so the moment the letter arrives, you submit within days instead of starting from zero. Understanding this sequence now is what separates students who fly out on schedule from those stuck waiting an extra intake cycle.
Step 1. Secure university admission and an invitation letter
Start by applying directly to your chosen Russian university, or through an agency like RUSBASE that already has agreements with 24 partner universities across six cities. Submitting through a partner speeds up admission decisions, since the university already knows the document format the embassy expects and won’t send back forms that need rework.
Once a university accepts you, it issues an official invitation letter, sometimes called a visa support letter, either directly or through Russia’s Ministry of Foreign Affairs. This letter is the single document that unlocks everything else. Without it, no consulate will accept your visa application, no matter how complete your other paperwork is.
The invitation letter is the gatekeeper document; nothing else moves until it’s in your hands.
Timelines vary, but a well-prepared application usually gets an admission decision within 7 working days, with the invitation letter following within 30 working days. If you’re applying independently, confirm your university’s average turnaround before committing to a start date, since delays here push back every later step, including your embassy slot and flight booking.
Step 2. Gather your visa documents and HIV test
With your invitation letter in hand, turn to the HIV test certificate, since Russian law requires it for any student staying longer than three months and most consulates won’t book your appointment without it. Get tested at an accredited lab in your home country, ask for the results in English or with a certified translation, and keep the certificate dated within three months of your embassy visit, because older results get rejected on the spot.
Booking the test and translating documents
Don’t wait until the last week to schedule this, since lab turnaround plus translation can eat up ten days on its own. While the results process, have your passport photos, application form, and insurance policy translated into Russian where the consulate specifies it, and get any foreign-language documents notarized if your local embassy requires that step.
Skip the HIV test window and you delay everything else by weeks, not days.
Check your specific consulate’s checklist before submission, since Indian and UAE application centers sometimes ask for one extra notarized copy that other countries skip entirely.
Step 3. Submit your application at the embassy or consulate
Book your appointment as soon as your invitation letter and HIV certificate are ready, since embassy slots in cities like Dubai, New Delhi, and Mumbai fill up fast during peak intake months of August and January. Check your nearest Russian visa application center website directly for available dates, and bring every original document plus one photocopy, since staff often keep a set on file.
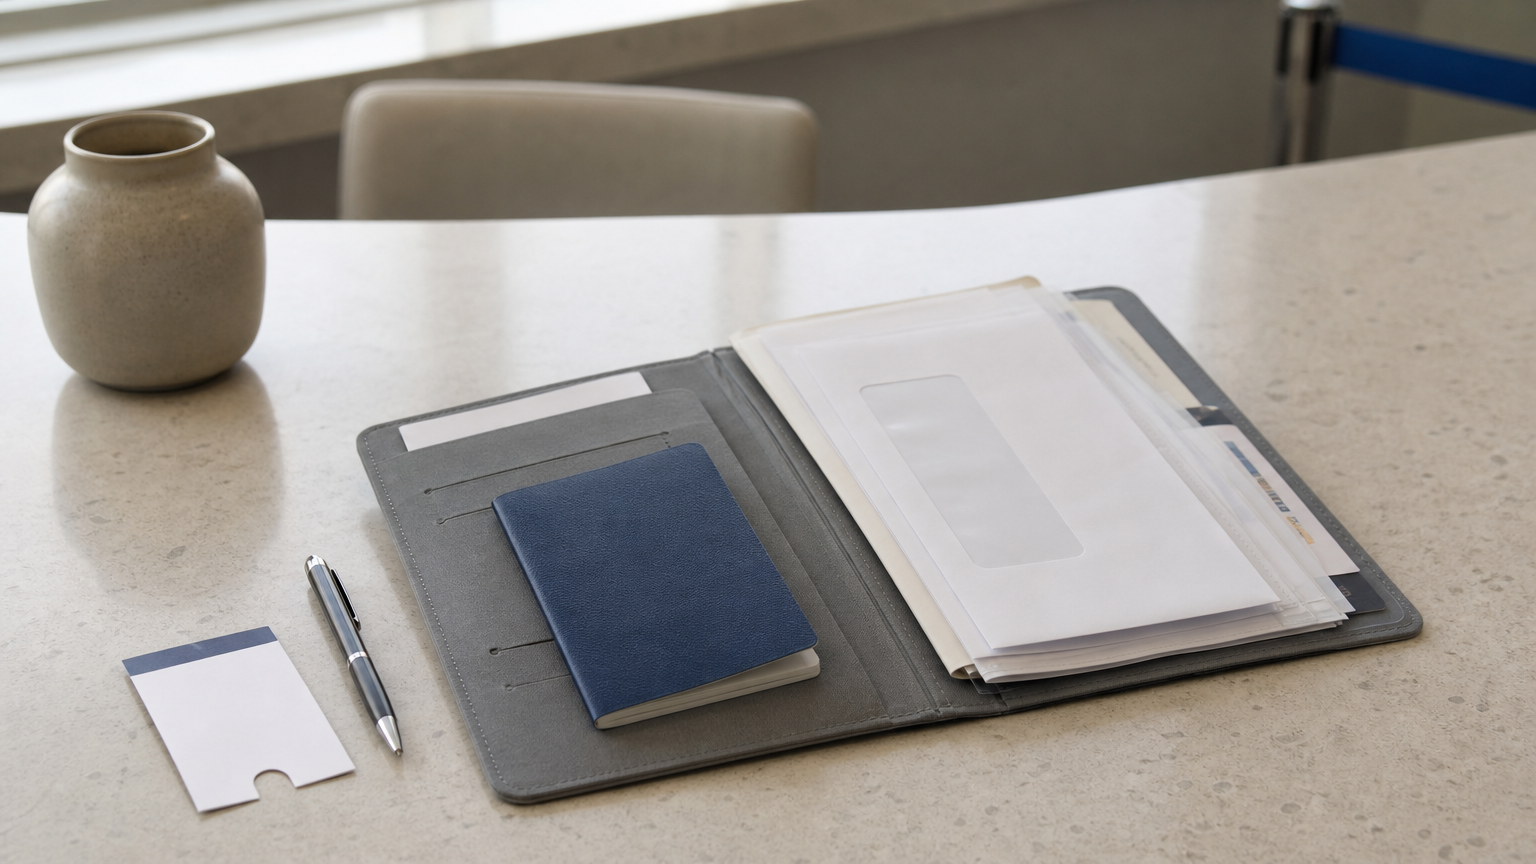
Arrive with your full folder organized in the order listed on the consulate checklist: passport, invitation letter, HIV certificate, application form, photos, insurance, and fee receipt. Officers process student visa applications faster when documents are already sorted, and a messy folder is a common reason for a second visit.
A tidy, complete folder gets processed in one visit; a messy one means you’re coming back.
Most consulates confirm your visa turnaround at submission, generally around a week for a single-entry student visa once everything checks out. Pay the fee in the accepted method, cash or card depending on the center, and keep your receipt until the passport is returned with the visa sticker inside.
Step 4. Arrive in Russia and register your visa
Landing in Russia is not the finish line. Within 7 working days of arrival, your university or host must register your migration card with the local branch of the Ministry of Internal Affairs, and missing this window creates real legal trouble, including fines or a forced exit. Keep your migration card, the small slip stamped at passport control, since you will need it alongside your passport for every registration and later visa extension.
Getting picked up matters here. RUSBASE arranges airport pickup for arriving students specifically because migration registration has a hard deadline, and a confused first-day arrival easily eats into that window. Your university’s international office usually handles the paperwork once you hand over your passport copy and migration card, so confirm this appointment before you even board your flight.
Miss the 7-day registration window and a routine step turns into a legal problem.
Once registered, ask for a copy of the registration slip for your records. You’ll need it for opening a bank account, getting a local SIM card, and any future visa renewal, so don’t let the original get lost in your first-week chaos.
Settling into student life in Russia
Once your migration card is registered and your paperwork is filed, the hard part is behind you. Registering for classes, opening a bank account, and finding your feet in a new city all get easier once the visa formalities are done, and most students say the first month is the steepest part of the whole journey.
Getting a student visa to Russia isn’t complicated once you know the sequence: admission first, invitation letter next, then documents, embassy, and arrival registration, each step unlocking the next. Students who stall usually skipped the prep stage, not the embassy appointment itself.
You don’t have to piece this together from scattered forums and outdated embassy pages. Talk to RUSBASE about your budget and subject, and we’ll walk you through admission, your invitation letter, visa paperwork, and airport pickup, the same process we run for every student heading into our partner universities this intake.
Questions About Your Own Case?
Requirements depend on your nationality and subject. Ask us directly, free of charge.
Book a Free Consultation